.title {
color: #ff6347;
font-size: 24px;
font-weight: bold;
}
.subtitle {
color: #ff6347;
font-size: 20px;
font-weight: bold;
}
No Bake Chocolate Oat Bars Recipe
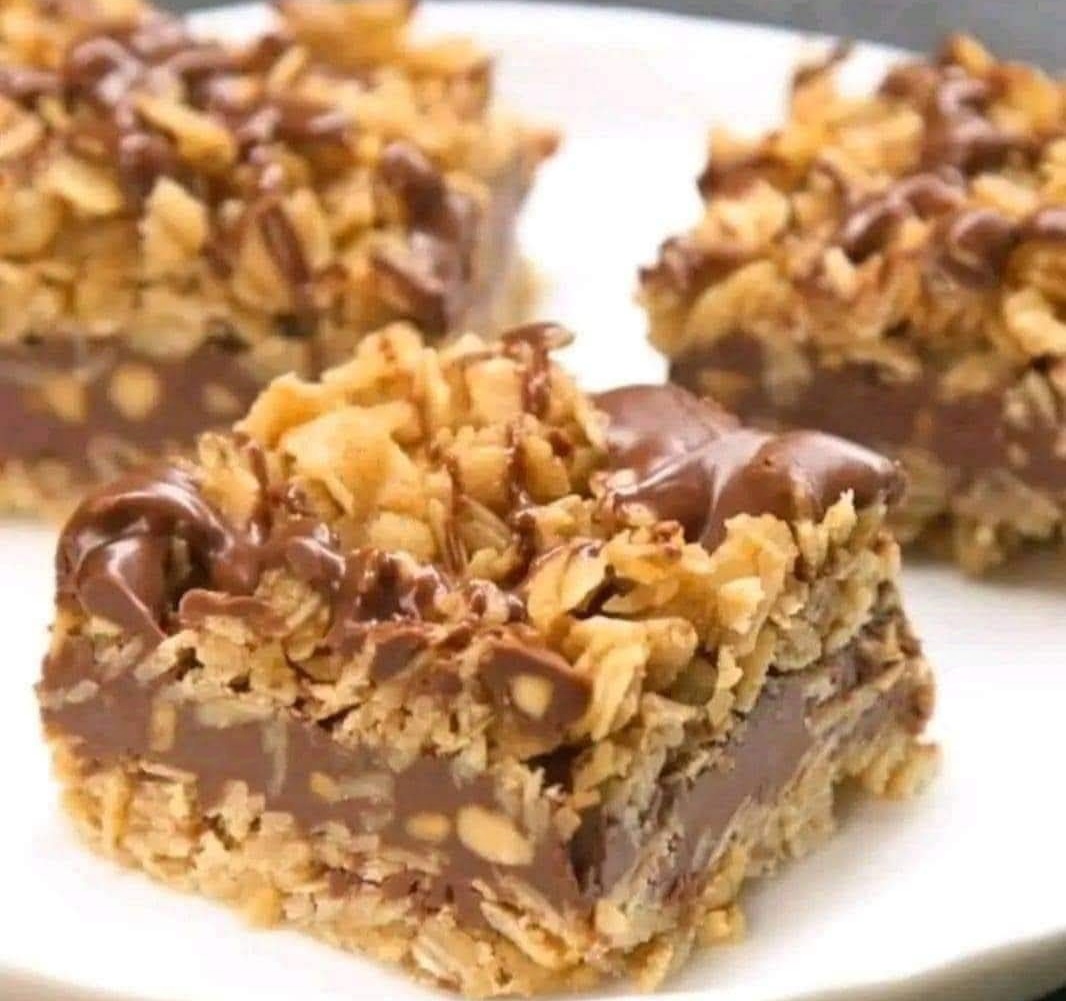
Introduction: These No Bake Chocolate Oat Bars are a decadent, easy-to-make dessert that combines the satisfying chewiness of oats, the rich sweetness of chocolate, and the creamy flavor of peanut butter. Perfect for the holidays or any time you want a quick treat, these bars are loved by everyone. With just a few simple ingredients, you can make a batch of delicious bars that can be stored in the fridge or freezer for later enjoyment. No baking required, making them a great choice when you’re short on time.
History: The origins of oat-based desserts like these bars date back centuries, with oats being a staple grain in many parts of the world. Over time, oats have been incorporated into a variety of treats due to their health benefits and versatility. The combination of oats, peanut butter, and chocolate is a modern twist that has gained popularity in recent years, thanks to the rise of no-bake recipes and the global love for peanut butter and chocolate.
Ingredients:
- 1 cup butter
- ½ cup brown sugar, packed
- 1 teaspoon pure vanilla extract
- 3 cups rolled oats
- ½ teaspoon ground cinnamon
- ¼ teaspoon kosher salt
- 1 cup dark chocolate chips
- ¾ cup chunky peanut butter
Instructions:
- Prepare the Baking Dish: Line an 8-inch-by-8-inch baking dish with parchment paper and set aside.
- Cook the Oat Mixture: In a medium saucepan, combine the butter, brown sugar, and vanilla extract. Heat over low heat, stirring occasionally, until the butter has melted and the sugar is dissolved. Add the oats, cinnamon, and kosher salt. Stir constantly for 4 to 5 minutes, allowing the oats to toast slightly and absorb the butter and sugar mixture.
- Layer the Oats: Pour half of the oat mixture into the prepared baking dish. Use a spatula to spread it evenly, pressing down gently to compact the mixture.
- Make the Chocolate-Peanut Butter Layer: In a small microwave-safe bowl, combine the dark chocolate chips and peanut butter. Heat in the microwave in 30-second intervals, stirring in between, until smooth and melted.
- Assemble the Bars: Pour the melted chocolate-peanut butter mixture over the pressed oat layer in the baking dish. Use a spatula to spread it evenly.
- Add the Top Layer: Top the chocolate layer with the remaining oat mixture. Press it down lightly to create a compact layer.
- Chill and Set: Refrigerate the bars for at least 2 hours to allow them to firm up. Once set, cut them into squares or bars and serve.
Methods:
The key method in this recipe is combining the ingredients in the correct order and chilling the bars to allow the chocolate and peanut butter to set. This no-bake technique preserves the chewy texture of the oats while ensuring the rich flavor of the chocolate-peanut butter topping.
Benefits:
- Oats are a good source of fiber and can help in lowering cholesterol levels, improving digestion, and regulating blood sugar.
- Peanut Butter is packed with protein and healthy fats, providing an energy boost.
- Dark Chocolate contains antioxidants that help with heart health and provide a mood boost.
Formation:
The formation of these bars involves layering the oat mixture and chocolate-peanut butter layer in a way that ensures every bite has a balance of flavors. Pressing the mixture down tightly helps the bars hold together when cut.
Nutrition:
Each serving (1 bar) contains:
- Calories: ~220
- Fat: 14g
- Carbohydrates: 24g
- Protein: 5g
- Fiber: 2g
These bars offer a satisfying combination of sweet and salty flavors, with a good balance of fats, carbohydrates, and protein. While they are an indulgent treat, they also provide some nutritional value thanks to the oats and peanut butter.
Conclusion:
No Bake Chocolate Oat Bars are a quick, delicious treat that’s perfect for any occasion. They require minimal ingredients and no baking, making them a hassle-free dessert option. These bars are perfect for the holidays, a party, or even just a snack at home. Their easy preparation and long shelf life in the fridge or freezer make them an excellent choice for meal prepping or making ahead of time.
Final Thoughts:
I’ve baked about 100 dozen of these bars for the holidays, and they quickly became everyone’s favorite sweet! They’re perfect for sharing with family and friends and are guaranteed to bring smiles to anyone who tries them. If you want more amazing recipes like this one, be sure to keep following me for more tasty treats. Thank you for your support, and happy baking!
